Simple i18n support for your Angular apps
Easy ways to create a translation mechanism for your Angular and Ionic applications that does not rely on third-party libraries.
Easy ways to create a translation mechanism for your Angular and Ionic applications that does not rely on third-party libraries.
In this article, I am going to show a quick and easy way to provide a translation (aka i18n) support for your Angular and Ionic applications.
I suggest using the Angular CLI commands to generate a new blank Angular application for the experiments. You also need at least two simple language files in JSON format to be able to test that the application switches languages at runtime.
In the src/assets folder create a new i18n sub-folder and put the following en.json file inside:
{
  "TITLE": "My i18n Application (en)"
}
That is going to be our default “English” locale.
Next, create another file in the i18n sub-folder with the ua.json name.
{
  "TITLE": "My i18n Application (ua)"
}
As you can see, we are going to have an application title that gets translated in multiple languages on the fly. For the sake of simplicity, I am using the same string for both languages with the locale name appended to the end.
Now we need a separate Angular Service to handle translations for the rest of the application in a single place.
ng g service translate --module=appOur service needs to load the corresponding translation file from the backend. For this purpose, we need to setup HTTP client and the corresponding module for the application.
For the newly generated service, add the data property to store the translation strings, and import the HttpClient service like in the next example:
import { Injectable } from '@angular/core';
import { HttpClient } from '@angular/common/http';

@Injectable()
export class TranslateService {
  data: any = {};

  constructor(private http: HttpClient) {}
}
You also need updating the main application module to import the HttpClientModule.
import { HttpClientModule } from '@angular/common/http';
import { TranslateService } from './translate.service';

@NgModule({
  declarations: [AppComponent],
  imports: [BrowserModule, HttpClientModule],
  providers: [TranslateService],

  // ...
})
export class AppModule {}
At this point, our HTTP stack is ready, and we should be able to fetch translation files.
Let’s introduce a use(lang) method for the service to initiate the file download and language switch.
@Injectable()
export class TranslateService {
  data: any = {};
  constructor(private http: HttpClient) {}

  use(lang: string): Promise<{}> {
    return new Promise<{}>((resolve, reject) => {
      const langPath = `assets/i18n/${lang || 'en'}.json`;

      this.http.get<{}>(langPath).subscribe(
        translation => {
          this.data = Object.assign({}, translation || {});
          resolve(this.data);
        },
        error => {
          this.data = {};
          resolve(this.data);
        }
      );
    });
  }
}
Above is the minimalistic implementation of the translation fetching.
Upon every call, the service goes to the assets/i18n folder and gets the corresponding file.
It is now time to test the service to ensure it is working as expected and it can load the translation file.
You need to inject the TranslateService instance into the class constructor,
invoke the use('en') method, and log the resulting data to the console output.
Update the main application component class like in the following example:
import { Component } from '@angular/core';
import { TranslateService } from './translate.service';

@Component({...})
export class AppComponent {

  constructor(private translate: TranslateService) {
    translate.use('en').then(() => {
      console.log(translate.data);
    });
  }

}
Now, if you run your application with the ng serve --open command and go to the developer tools,
you should see the following output:

Typically, we want to have at least default locale already present once the application starts. That helps to avoid “flickering” effects when end users see resource keys while corresponding translation is still loading.
The Angular framework provides a specific APP_INITIALIZER token that allows
to initialize and configure our providers before the application starts.
Below is an example implementation that allows us to load and set en.json as the default application language:
import { NgModule, APP_INITIALIZER } from '@angular/core';

export function setupTranslateFactory(
  service: TranslateService): Function {
  return () => service.use('en');
}

@NgModule({
  ...

  providers: [
    TranslateService,
    {
      provide: APP_INITIALIZER,
      useFactory: setupTranslateFactory,
      deps: [ TranslateService ],
      multi: true
    }
  ],

  // ...
})
export class AppModule { }
Let’s now test this in action. Go back to the app.component.ts file and remove explicit use('en') call.
Leave just logging to console output like in the next example:
@Component({
  /*...*/
})
export class AppComponent {
  constructor(private translate: TranslateService) {
    console.log(translate.data);
  }
}
If you start the application right now (or reload the page if it is already running) the console output should still be the same as previous time:

Note, however, that this time service gets initialized before application component, and we can access the language data without extra calls.
Let’s now move on to content translation.
Using pipes for translation is a common approach in the Angular world.
We are going to use the following syntax to translate content for our components:
<element>{{ 'KEY' | translate }}</element>
<element title="{{ 'KEY' | translate }}"></element>
<element [title]="property | translate"></element>
Use the following Angular CLI command to create a new TranslatePipe pipe fast:
ng g pipe translate --module=appGiven that the translation data is already loaded and stored within the TranslateService,
our pipe can access the service and get the corresponding translation based on the key.
import { Pipe, PipeTransform } from '@angular/core';
import { TranslateService } from './translate.service';

@Pipe({
  name: 'translate',
  pure: false,
})
export class TranslatePipe implements PipeTransform {
  constructor(private translate: TranslateService) {}

  transform(key: any): any {
    return this.translate.data[key] || key;
  }
}
The above implementation is a fundamental one to show the initial approach.
For this article, we are using only one level of object properties,
but you can extend the code, later on, to support property paths,
like SOME.PROPERTY.KEY and translation object traversal.
It is now time to test the pipe in action and see if it is working as we expect.
Update the auto-generated application template app.component.html
and replace the title element with the following block:
<h1>
  Welcome to {{ 'TITLE' | translate }}!
</h1>
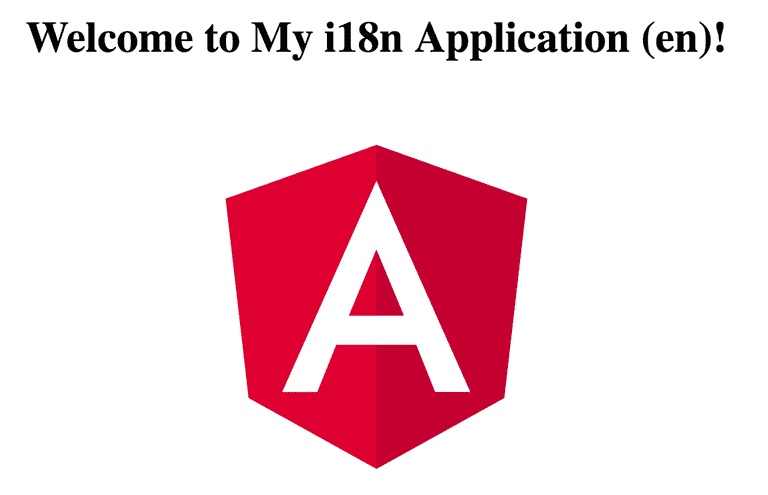
Switch to the running application right now, and you should see the title value reflecting the content of the en.json file:

The final feature we need to have is dynamically changing the language based on user input. That comes handy when you want to provide a language selector menu or detect browser locale and automatically switch to a particular language.
The good news is that you can reuse the same use(lang) method of the TranslateService
to change the language based on, for instance, a button click.
The component code can look like in the following example:
@Component({...})
export class AppComponent {

  constructor(private translate: TranslateService) {}

  setLang(lang: string) {
    this.translate.use(lang);
  }

}
Now add two buttons to the main application component template and wire them with the newly introduced code to switch to a different language like in the next code:
<h1>
  Welcome to {{ 'TITLE' | translate }}!
</h1>

<div>
  <button (click)="setLang('ua')">Language: UA</button>
  <button (click)="setLang('en')">Language: EN</button>
</div>
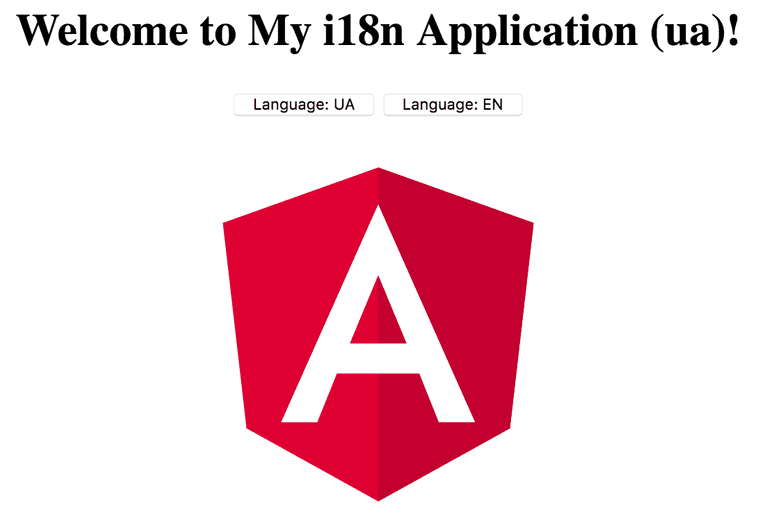
Switch to the running web application and try clicking the buttons. You should see application title changing automatically upon every click and reflecting the content of either en or ua translation files.

You have got a working translation layer for your application with the ability to load different translations from the server, and changing languages at runtime.
As you can see from the examples above, a minimal translation layer consists of three parts: JSON files containing translated resources, an Angular service that manages translations, and a Pipe that performs the translation by utilizing the underlying service.
For the next steps, you can experiment with the following areas to make your translation layer more sophisticated:
You can find all source code for this article in the following GitLab repository: https://gitlab.com/DenysVuika/medium-i18n.
Check out the @ngstack/translate library for Angular and Ionic projects.